How to Replace U-Joints: Step-by-Step Guide for Vehicle Drivetrain Maintenance
How to Replace U-Joints: Step-by-Step Guide for Vehicle Drivetrain Maintenance
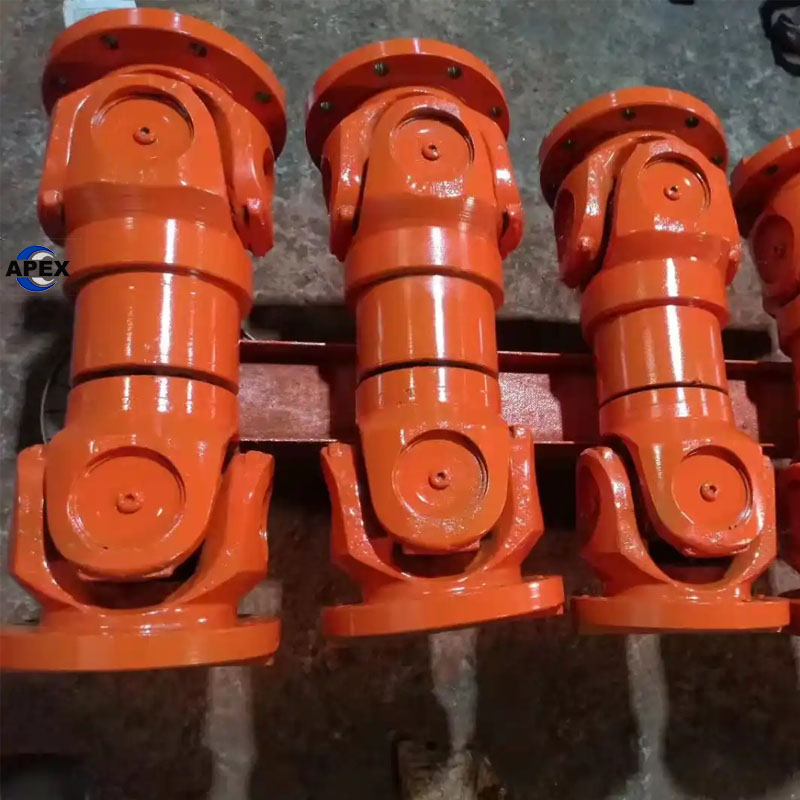
Introduction to U-Joints
U-joints, or universal joints, are essential components of a vehicle’s drivetrain system, enabling the transfer of rotational power from the transmission to the drive wheels. These joints provide flexibility to the drive shaft by allowing it to pivot on both the vertical and horizontal axes. U-joints are typically found in rear-wheel-drive, all-wheel-drive, and four-wheel-drive vehicles, and are crucial for smooth and uninterrupted power transmission.
Over time, U-joints may wear out, leading to vibrations, noise, and even complete failure if not replaced. Regular maintenance and timely replacement of worn U-joints will help prevent major drivetrain issues and improve vehicle safety.
Tools and Equipment Needed
Before starting the replacement process, gather the following tools and equipment:
Jack and Jack Stands for vehicle support
Socket Set and Wrenches for loosening bolts
Snap Ring Pliers for removing retaining clips
Pry Bar and Hammer for removal of the U-joint
Grease Gun for lubrication
Safety Gear such as gloves and safety glasses
These tools will ensure a smooth, safe, and efficient U-joint replacement process.
Locating and Accessing the U-Joint
To replace the U-joint, first locate it on the drive shaft. Depending on your vehicle’s make and model, the U-joint may be positioned at various points along the shaft. You may need to remove underbody covers, cross members, or parts of the exhaust system to gain access. Proper access is key to a successful and hassle-free replacement.
Step-by-Step U-Joint Replacement
Follow these steps to replace your U-joint and restore the drivetrain’s functionality.
1. Remove the Drive Shaft
Mark the Drive Shaft: Before removing the drive shaft, use chalk or touch-up paint to mark the relationship between the shaft and the flanges. This ensures proper alignment when reinstalling.
Unbolt the Drive Shaft: Using your socket set, remove the bolts securing the drive shaft at the differential and hanger bearing. Slide the drive shaft off the transmission yoke.
2. Remove the Old U-Joint
Remove Retaining Rings: Use snap ring pliers to remove the retention rings holding the U-joint bearing caps in place.
Press the U-Joint Out: Use a press to apply even pressure and remove the old U-joint from the drive shaft. If a press isn’t available, you can carefully tap it out with a hammer and an appropriately sized socket.
3. Install the New U-Joint
Fit the New U-Joint: Ensure the new U-joint matches the correct size for your vehicle’s drive shaft. Fit the U-joint into place and install the bearing caps securely. Avoid forcing the caps into place, as this can damage the bearings.
Secure the U-Joint: After positioning the U-joint, use new snap rings to secure the bearing caps. Tap the caps into place with a hammer, if necessary, or press them into position.
Align the Drive Shaft: Refer to the marks you made earlier to align the shaft properly. This will ensure that the drive shaft remains balanced, reducing vibration during operation.
4. Lubricate the U-Joint
Apply grease to each bearing cap using a grease gun. Be sure to use the correct type and amount of grease to ensure smooth operation. Too much grease can cause overheating, while too little can lead to premature wear.
Troubleshooting Common Issues
Even with careful preparation, issues may arise during the replacement process. Here are some common problems and how to address them:
Stuck U-Joint: If the old U-joint is difficult to remove, apply penetrating oil and allow it to sit before attempting removal again.
Damaged Snap Rings: Be sure to replace any damaged snap rings to ensure the bearing caps stay secure.
Vibration Issues: If you experience vibrations after replacement, double-check the alignment of the drive shaft. Misalignment can cause driveline vibrations.
Take the time to torque all fasteners to the manufacturer’s specifications and perform a test drive to ensure proper function.
Conclusion
Replacing U-joints is a critical part of maintaining your vehicle’s drivetrain system. By following the steps above, you can ensure a smooth and successful U-joint replacement. Regular maintenance of U-joints will not only prevent catastrophic failure but also enhance your vehicle’s performance and longevity.
At Apex Coupling, we offer a wide selection of universal joints and couplings for a variety of industrial applications. Visit www.apexcoupling.com to browse our products or to inquire about a custom solution for your needs.