How to Install Universal Joints: A Complete Guide for Optimal Performance
How to Install Universal Joints: Step-by-Step Guide for Mechanical Systems
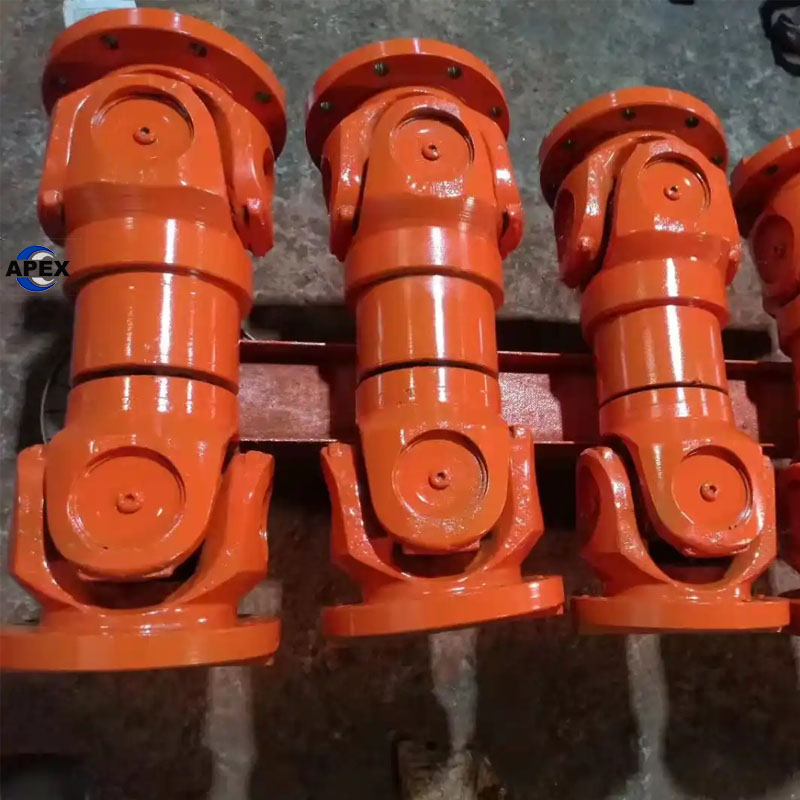
Universal joints (U-joints) are essential components in mechanical systems, used to transmit torque and allow for shaft misalignment. Correct installation of these parts is crucial for the longevity and performance of the machinery. In this guide, we will walk you through the essential steps for installing universal joints, with expert tips to ensure smooth operation and minimal wear.
Pre-Installation Checks
Verify Compatibility:
Before starting the installation, ensure the universal joint (U-joint) matches the shaft diameter. Common shaft diameters typically range from 20mm to 150mm.
Inspect the U-joint cross bearings for corrosion or wear. Any signs of damage mean it’s time for a replacement.
Measure the Spline Fit:
Measure the clearance of the spline fit between the U-joint and the shaft. The ideal clearance should range between 0.05mm to 0.15mm. If the clearance exceeds this range, it’s advisable to replace the parts for a secure fit.
Alignment Adjustment
Check Shaft Alignment:
Use a dial indicator to measure the coaxiality (alignment) of the two shafts. The deviation should be ≤ 0.1mm/m. For even more precise alignment, a laser alignment tool is recommended.
Ensure that the angular deviation between the shafts does not exceed 3°. Larger angles can lead to faster wear and a shorter lifespan of the U-joint.
Angle Adjustment:
Be mindful of the angle between the connected shafts. If the angle is too large, it can reduce the lifespan of both the U-joint and the connected components. Keep the angle within optimal limits as per the manufacturer’s recommendations.
Tightening and Lubrication
Tighten Bolts:
Bolts should be tightened in a diagonal pattern, applying torque in 2-3 stages to ensure an even load distribution. Refer to the product manual for the recommended torque value, typically in the range of 80-200 N·m.
Lubricate the U-joint:
Use lithium-based grease (NLGI grade 2) for lubrication. The grease should fill about 60-70% of the bearing cavity. Proper lubrication is crucial for reducing friction and wear, especially under heavy loads.
High-Risk Warnings
Power Off Before Installation:
Never install a U-joint on a live, powered system. Always ensure that the machine is powered down before working on high-speed shafts (especially those exceeding 1500 RPM), as these can be dangerous without proper safety precautions.
Pre-Heat Welded U-joints:
For welded U-joints, it’s essential to preheat the components to 200°C or higher to avoid cold cracking during installation.
Application-Specific Considerations
Construction Machinery:
For machinery used in construction, such as excavators and bulldozers, it’s advisable to install dust covers to protect the U-joint from debris. Also, perform regular checks and lubrication every week to ensure smooth operation.
Marine Propulsion Systems:
U-joints used in marine systems must be made from stainless steel to withstand the harsh conditions. Regular salt-spray testing is recommended to ensure corrosion resistance.
Conclusion
Proper installation of universal joints is critical for the performance and longevity of mechanical systems. By following the above steps—starting with pre-installation checks, proper alignment, and adequate lubrication—you can ensure that your U-joints operate efficiently and reduce the risk of failure.
At Apex Coupling, we offer high-quality universal joints and other coupling solutions for various applications. Visit www.apexcoupling.com to learn more about our products and to inquire about your specific requirements.