How to Install Universal Joints: A Step-by-Step Guide
- oem coupling
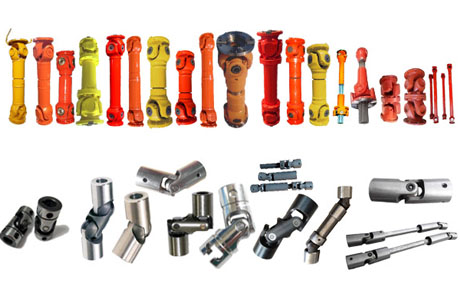
- Universal joints
How to Install Universal Joints: A Step-by-Step Guide
Tools & Materials You’ll Need:
New U-Joint Kit (includes the joint, bearing caps, circlips, and often grease)
Socket Set & Wrenches
Vice
Hammer (Ball-peen or dead blow)
Needle-Nose Pliers or Snap Ring Pliers
Safety Glasses and Gloves (crucial)
Shop Press (recommended) or large C-clamp (alternative)
Installation Procedure
Step 1: Safety First & Removal
Disconnect the Driveshaft: Safely elevate and support the vehicle. Mark the driveshaft and yoke orientation with paint or a punch to ensure proper balance upon reinstallation. Unbolt the driveshaft from the differential flange and carefully slide it out of the transmission/transfer case.
Remove the Old Circlips: Use needle-nose pliers or snap-ring pliers to remove the circlips from the U-joint bearing caps. They can be stubborn; be patient.
Step 2: Press Out the Old U-Joint
Recommended Method (Using a Vice or Press):
Place the driveshaft yoke in a vice with soft jaws (or on a press bed).
Select two sockets: one large enough for the bearing cap to fit inside, and one smaller that will press against the U-joint cross.
Position the large socket under one bearing cap, aligned with the opposite cap.
Use the vice/press to apply steady pressure on the opposite bearing cap using the smaller socket. The cap will be pressed out into the large socket.
Reverse the setup and press out the other side.
Alternative Method (Using a Hammer & Sockets): This is riskier and can damage components if done incorrectly.
Support the yoke securely.
Place a large socket on one side to catch the bearing cap.
Use a hammer and a punch or small socket to gently tap the opposite bearing cap until it comes out. Avoid striking the U-joint cross directly, as this can damage the needle bearings.
Step 3: Clean & Prepare
Thoroughly clean the inside of the yoke ears where the new bearing caps will sit. Remove any rust, burrs, or old grease.
Lightly grease the new bearing caps and the areas inside the yoke. Do not over-grease.
Step 4: Install the New U-Joint
Position one new bearing cap partway into one side of the yoke.
Insert the U-joint cross into the yoke, aligning it with the partially installed cap.
Press In the First Cap:
Use your vice or press with the sockets to slowly and evenly press the first bearing cap into place until the groove for the circlip is fully visible.
CRITICAL: Do not press it in so far that it puts pressure on the cross, making it bind.
Install the Second Cap:
Start the opposite bearing cap by hand.
Press this cap in until its circlip groove is also fully visible.
Check for Free Movement: The U-joint must move freely and smoothly without any binding or stiffness. If it’s stiff, one of the bearing caps is pressed in too far. A light tap with a hammer on the yoke ears can sometimes relieve stress.
Step 5: Secure with New Circlips
Install the new circlips into the grooves. Ensure they are fully seated in their grooves.
If a circlip is loose or doesn’t snap in, the bearing cap is not pressed in far enough.
Step 6: Grease and Reinstall
Using a grease gun, add grease to the zerk fitting (if equipped) until you see fresh grease purging from the seals on all four bearing caps.
Reinstall the driveshaft, aligning the marks you made during removal. Torque the flange bolts to the manufacturer’s specification.
Key Points & Warnings
Safety First: A failed U-joint can cause a driveshaft to separate at high speed, which is extremely dangerous. Always wear safety glasses.
Avoid Hammering Directly: Never hammer directly on the U-joint cross or the bearing caps. This will destroy the needle bearings.
Press, Don’t Pound: A steady press is far superior to hammering. It ensures an even, controlled installation and prevents damage.
No Binding Allowed: A binding U-joint will fail prematurely. It must move freely after installation.
Always Replace in Pairs: If one U-joint on a driveshaft fails, it is good practice to replace all U-joints on that shaft, as they have endured similar wear and stress.
By following these steps carefully, you can ensure a safe and professional-quality U-joint installation.